In the last tutorial I added a Home button, so I already have a navigation bar under the header on my blog. To make it easy for readers to find the blogging tutorials in the future I decided to add a Blogging Tutorials page to the header.
Pages are just that, a static page where you can add text, pictures, and links. Just like a post really, but these pages are only accessed via the navigation bar, they wont be seen in your posts archive.

To add a page first click on Pages on the left, you can see it in orange as I have already clicked on it. It says ‘Pages All’ at the top and underneath ‘There no pages’ as I haven’t added any yet. Click on ‘Create a new page’ in blue.

This is my new page and as you can see it is just like writing a blog post. I can change the font, add pictures and links, everything I would normally do. I know what I want to add to my page………

I have now added a few words saying what this page is about. You don’t have to do this bit, it’s just how I like to do it. You can save the page at any point and just like a post it will be saved as a draught until it is finished. Next I added a picture in exactly the same way I normally would and underneath I added the link to the first blog tutorial I did, How to Grab a Button.
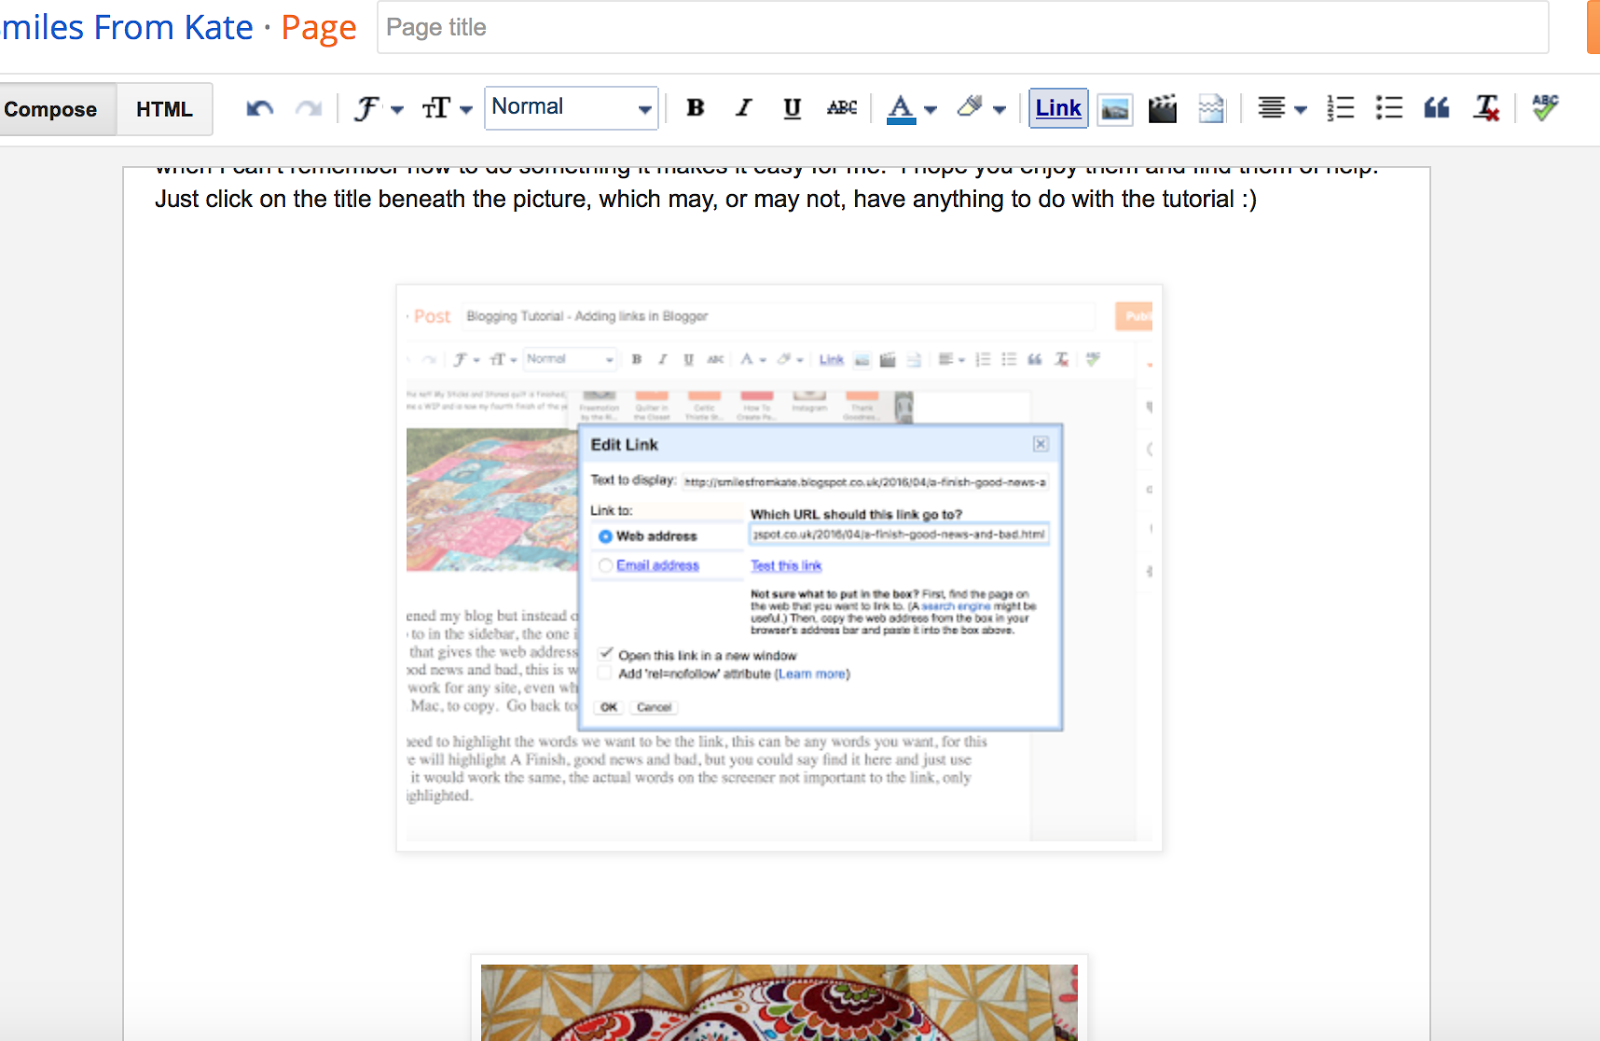
Rather than having people scroll down to the bottom to find the latest tutorial I am clicking on the page above the first tutorial picture and inserting the second one. I added them all in until I got to the latest one. As I do more bogging tutorials all I have to do is add a direct link to the top of the page when they are published.

At this point I remembered I hadn't added the name of the page name to the page which is just like adding a name to a blog post. You can just save it at this point and it will remain a draught page or if it is finished click Publish on the right in orange. You can edit the page at any time in the future.
Now we have to add the page to the navigation bar.

Go into layout, we want the Pages Gadget, click on ‘Edit’ on the right side.

I have ticked the ‘Blogging Tutorials' page, under ‘Home’ page. Now click save. If you have several pages you can change the order of them here too.


Take a look at your success and congratulate yourself.
This will be my last blogging tutorial unless someone makes a request which I can fulfil. I hope you have enjoyed reading them and I have been of some help. I have certainly learned a lot and had fun in the process.
Linking up with Freemotion by the River, Let's Bee Social, and Confessions of a Fabric Addict, My Quilt Infatuation, TGIFF, Can I Get A Whoop Whoop? , Crazy Mom Quilts
Linking up with Freemotion by the River, Let's Bee Social, and Confessions of a Fabric Addict, My Quilt Infatuation, TGIFF, Can I Get A Whoop Whoop? , Crazy Mom Quilts
Smiles
Kate
Kate, great information! Thank you!
ReplyDeleteYou have done such a great job putting out these tutorials! Keep going!! I think the home button may be the most important one to have!
ReplyDeleteOMG Kate thank you so much for these tutorials! I now have my home button and tutorials :-)
ReplyDeleteI have added a Home button and will be adding a page later.
ReplyDeleteThere are a couple of other things that need changing on my header, but it would be too cheeky to ask for your help!
Thank you so much, Kate! I have found your tutorials very helpful.
Barbara xx
Great tutorial Kate!
ReplyDelete